STOVETOP BREW GUIDE
The humble and often overlooked Stovetop/Moka Pot can produce exceptionally tasty brews. We’re aiming to produce a brew stronger in flavour than a filter coffee but not quite as intense as an espresso.
We’ve included multiple brew ratios to encourage you to weigh your coffee and water. If you treat your Stovetop process with care you will be rewarded!
Essential Gear
- Coffee Beans
- Coffee Grinder
- Stovetop
- Cook Top
- Dosing Cup
- Scales
- Water (filtered if you can, it's worth it!)

Starting Recipe
|
MOKA POT SIZE |
COFFEE WEIGHT |
WATER IN |
|
1 cup |
7.5 grams |
50 mls |
|
3 cup |
30 grams |
200 mls |
|
6 cup |
45 grams |
300 mls |
|
9 cup |
80 grams |
550 mls |
Grind
Grind size here is crucial! We are looking for a medium to fine grind, not as fine as espresso, but not as coarse as filter. Visually it should look the same size as table salt.
Let's Brew!
- Boil the kettle and place the Stovetop on your scales. Tare the scales.
- Remove the top of your Stovetop along with the basket and add the desired amount of not quite boiling water (wait 30 seconds off the boil) to the bottom of the Moka pot, make sure to not fill higher than the valve.
- Using water off the boil not only speeds up the brewing process, but also prevents having to use super high stove temps which can heat up the metal too much and impart a “metallic” flavour in the final brew.

- Weigh the desired amount of coffee and grind fresh. Add to the basket, level it off with your finger and place the basket in the Moka Pot.

- Put the top on and screw down. Do not over tighten your Moka Pot, this will wear the rubber seal down

- Place your Moka Pot on a medium heat with the lid open so you can see the extraction process!
- Remove the Moka Pot off the heat when about 4/5ths of the original water volume has been extracted. You want to cut the extraction short while the stream of liquid is still steady to avoid the bitter, over extracted coffee that is produced last. Don't wait until the liquid is bubbling...you've gone too far!
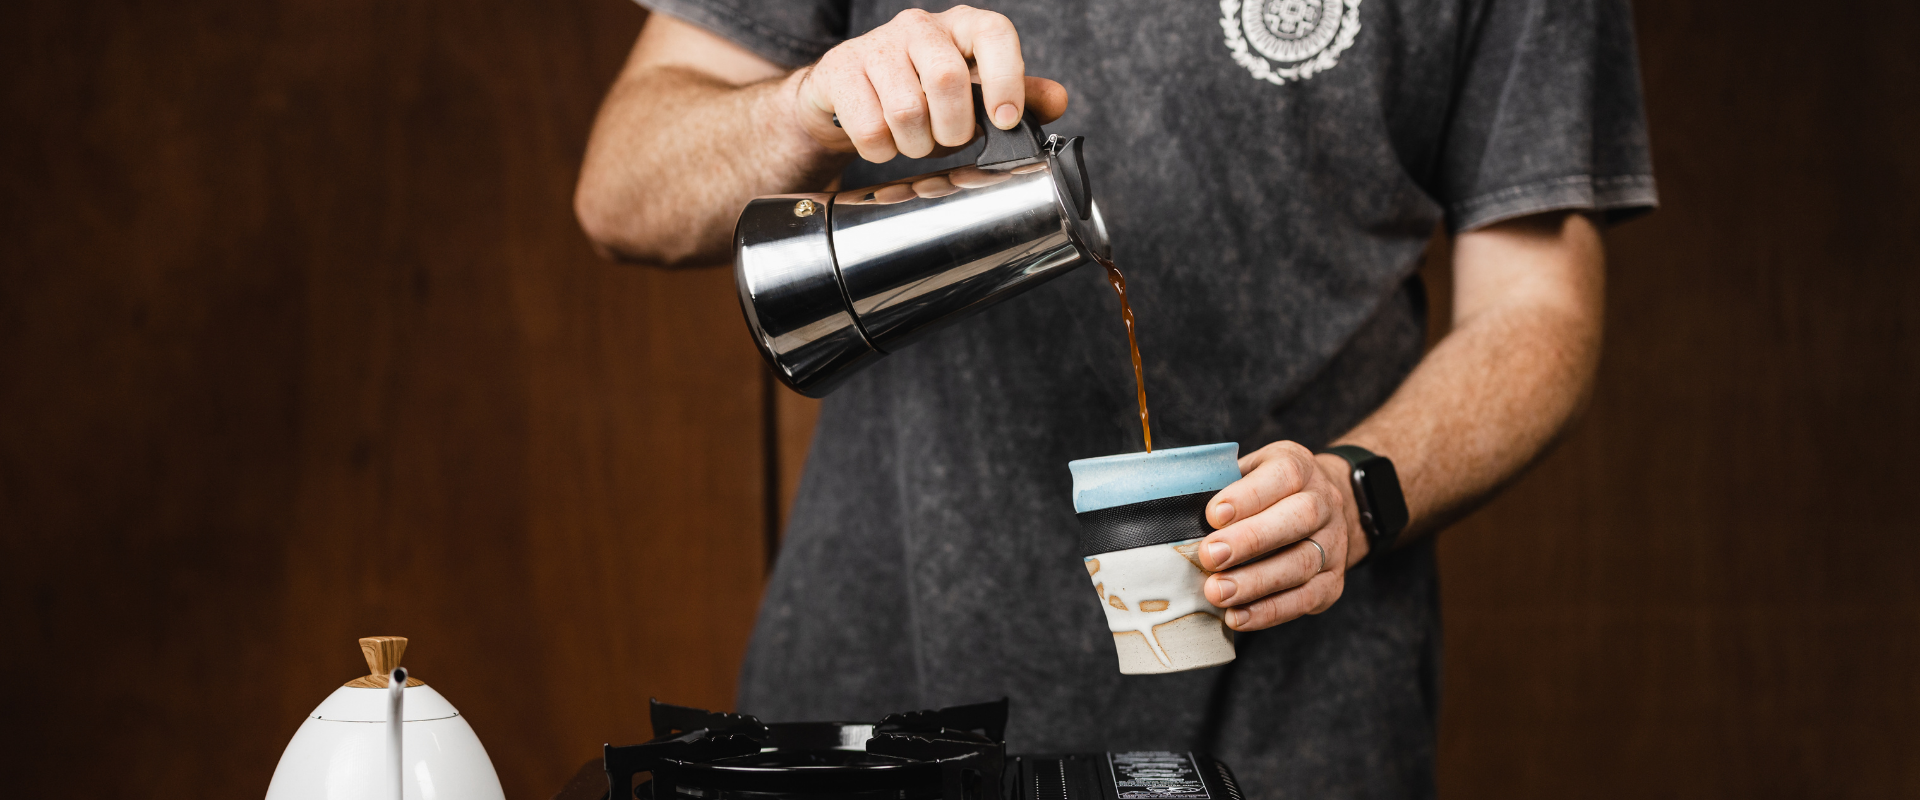
- Pour into your favourite coffee mug and enjoy. You can dilute the brew with hot water if you like a weaker brew that lasts a bit longer or drink it straight up!
Brew Tips!
- If your coffee tastes too weak or watery, try adding more coffee and a finer grind size
- If your coffee tastes too acidic, try a longer brew time or a finer grind size
- If your coffee tastes bitter, try a quicker extraction or a coarser grind size


